Do You need some tips to organize your small woodshop?
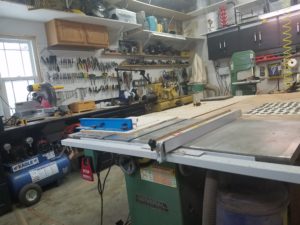
It seems that most of us have one thing in common; we need more space in our workshops. I realize that I am lucky to have a little more space than many, but my shop is certainly smaller than others. Regardless, it seems that most of us would like more room. My shop is 20’ X 15’ and just when I have it organized, I discover another tool or more wood that’s on sale. Now, after reorganizing everything many times, I finally have a design that is working.
Here are five tips I to help organize your small woodshop:
Five recommendations:
1) Organize your electrical outlets, air compressor lines and vacuum system ducts first:
a) Tips for organizing your electrical outlets:
Make a list of all the equipment that needs 110 volts and 220 volts, then get a licensed electrician to help you plan. Be sure to account for your electric hand tools and charging stations for rechargeable batteries.
WOOD MAGAZINE has an excellent article regarding Critical questions about workshop wiring when planning your shop. This article also helps make it clear why a professional should help with this.

It will also help if you have rough idea of where your table saw, drill press, lathe etc. are going to set. After you and the electrician plan for power at these locations, Put in more outlets! Once you have a rough plan for your tools, anticipate that you will likely move them again.
For example, I wanted my lathe on the south wall so that is where I put the 220v electrical connection. About a year later I decided to move the lathe to the east wall. If I had the electrician put 220v on both walls in the beginning, it would have been less expensive than it was when I called him back.
You should also put your outlets high enough for a workbench to be located under them and put some outlets in the celling. My celling lines turned out to be some of the most useful. I have retractable extension cords above the workbench that I pull down when I need power. This is much safer than power cords laying across the floor.
However, you will still likely have equipment in places away from the walls that need power. I could not afford to have outlets retrofitted into the concrete floor, so I have an extension cord for my table saw lying on the floor. I protect it with a standard cord protector available in any hardware store. Like this one on Pinterest.
b. Tips for organizing your air compressor hoses:
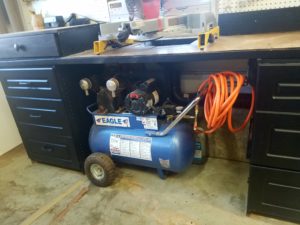
I don’t like to move my air compressor from place to place in my small shop, so I stored it under my cabinets then ran a compressor line along the wall behind the benches and equipment. I put several ‘T’ fittings in the line so I can attach tools easily at any location in the shop without moving the compressor. I also ran a line to ceiling with a retractable hose.
c. Tips for organizing the vacuum ducts:
Many workshops plan the vacuum ducts running up the wall and across the ceiling. In my case, I found that running the ducts along the floor, behind the equipment and benches worked better. I use ‘Y’ connectors with blast gates at several locations to make it easy to move machines around.
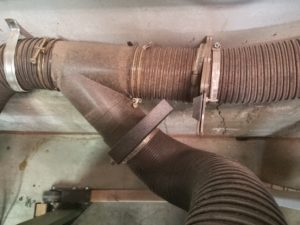
These blast gates like, and the flexible hoses are available in most woodworking stores like Woodcraft and Rockler. However, if you have long runs use solid 4″ pvc pipe. They are more efficient and less expensive.
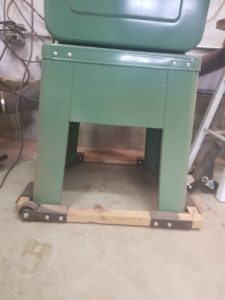
2) Put the Heavy Tools on Casters:
One of the best tips I found to organize my small woodshop is to put all of the heavy equipment on wheels. This includes the band saw, drill press, sander, table saw and even the work benches. The casters make it easy to move the equipment out of the way when it’s being used. It also makes it much easier to clean behind the tools.

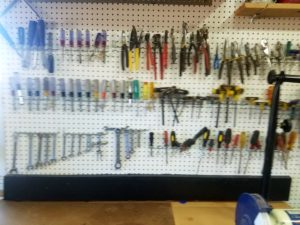
3) Have Plenty of Pegboard on the Walls:
It helped to organize my workshop by covering all available wall space with pegboard that gboard is filled tools. Pinterest has a lot of great ideas for saving space with pegboard:
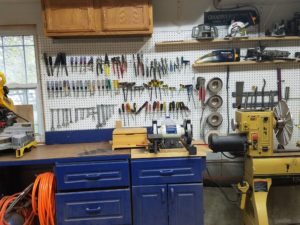
4) Consider Multiple Uses for Every Space:
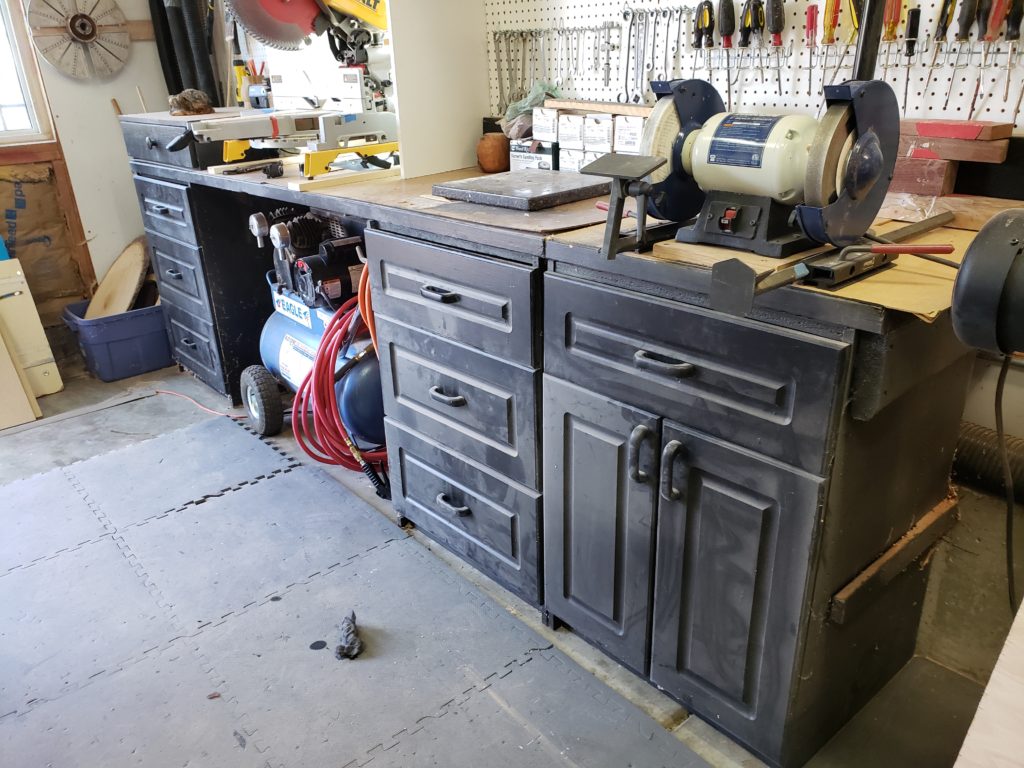
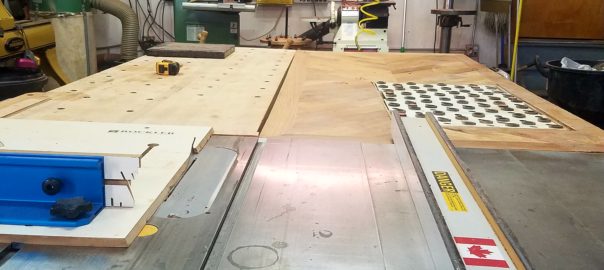
a) The counter on the east wall supports the miter saw with a dust collection port mounted in the bench top behind the saw. Dust is sucked into this port through the vacuum lines below the bench.
b) Directly under the miter saw is the air compressor and the compressor lines run along the wall. The compressor is never moved, but there is access to compressed air all over the shop including over the workbench where there are retractable hoses.
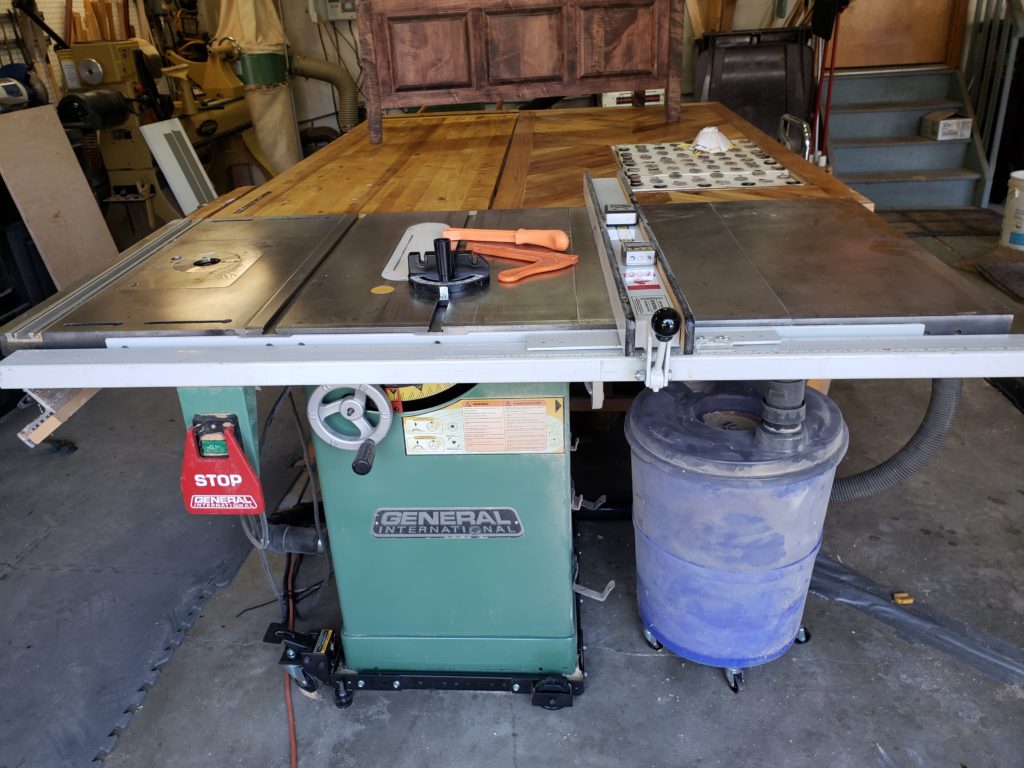
c) The workbench, sanding table and cabinet saw are all grouped together in the center of the shop. The workbench also works as cutoff support for the table saw, and the sanding table adds additional workspace for large projects.
To save even more space the router table is attached to the table saw.
d) Both workbenches have space for storage underneath. There are tool cabinets under the workbench and a shop-vac with an auxiliary dust separator under the sanding table. I mentioned earlier that I didn’t like vacuum pipes running down from overhead, so I use this shop-vac for both the table saw and sanding table. This works well and with the dust separator attached I rarely need to clean the filters or change bags in the vacuum.
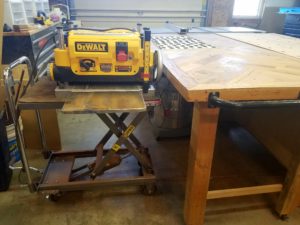
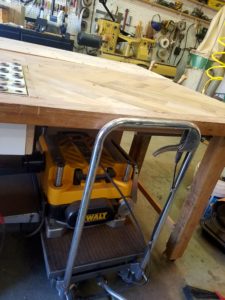
A portable plainer sets on a hydraulic lift. This lift makes it easy to store the plainer under the sanding table. When the plainer is needed, the lift rolls out from under the table the lift is raised.
5) Organize Your Shop, and Keep it Clean:
This bowl is a great example of why it is impossible to do quality work in a mess.

The most important tip for organizing a small woodshop is to keep it clean. At first glance, this bowl looks like a fairly nice piece of work, but if you take a close look, you can see bad joints in the top feature ring. I didn’t even notice that I made this error until I finished the bowl and started sanding. I had to ask myself: “After so many hours of work, how could I have made such and error?”
Here is the answer: My shop was a mess; I was in a rush to finish and didn’t feel like clearing the bench. I just thought to myself, “I’m sure everything is fine, I’ve done this many times; just glue it up and quit for the day.” I now use this work as a hammer to remind me: “Take the time to clean up your mess each day. Keep the shop organized!”
